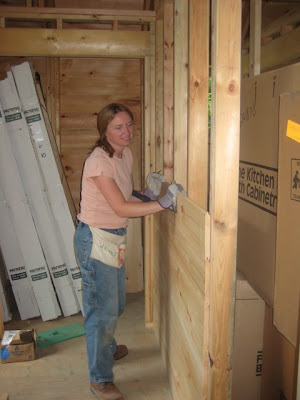
See? It's for Cookie...
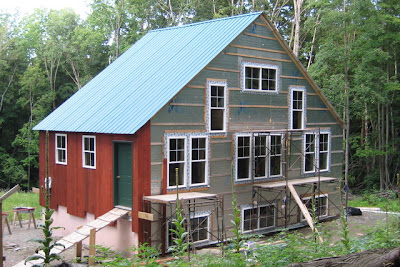
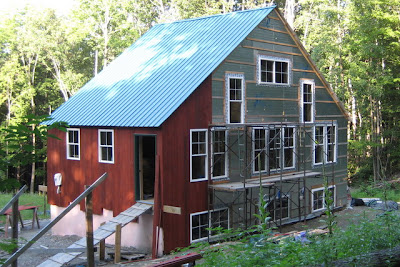
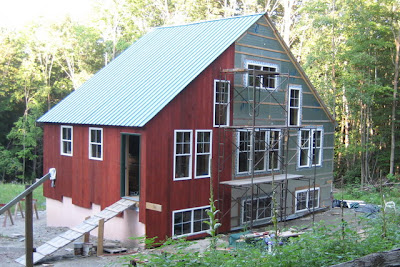
So the Cookie Monster left a comment that he wants more updates. I am going to try to be good about updating every week. Let's see if I can do it. The next few posts are likely to be all about siding, since that is the last big thing left on the outside of the house now. If you don't find the sight of a house slowly being covered in siding... well, you probably shouldn't be here. Me, I find the transformation of the house awesome. As Wendy said, "Just a little while ago I looked at the foam and strapping and thought, 'Wow! That looks so good. We've come so far,' but now next to the siding I think, 'Wow! That is so ugly. I can't wait until it is sided.'" The siding really transforms the house before your eyes.
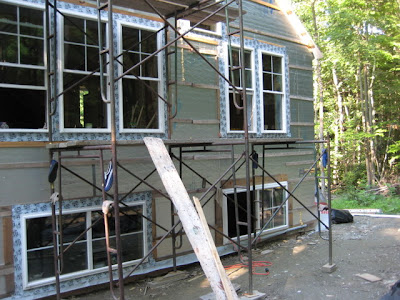
We spent more time fiddling with the cuts aroudn the windows this weekend. My friend from work, Mara, came up on Saturday to help us nail up some siding, and she painted a few boards as well. We moved along the second living room window, and finally got all the way around it. The siding board on the left side of the window was a real bear - the bottom fit in but the top eouldn't make it all the way - there was a big (1/2 inch) gap at the top. After recutting it and putting it back in, it still had a 1/4 inch gap, but with some quick thinking, I cut a sliver of wood, painted it and filled in the gap nicely. No one will ever see it up over the window I bet, but now you'll know to look for it.
Sunday we spent getting over, under and around the third living room window. Wendy wasn't feeling too well (she was fighting a summer cold the kids gave her), so I did some of it by myself. It wasn't too awful and we even got a board past the window before it was time to go.
We stayed at Grandma Lana's Sunday and Monday night too since she is going to see her new granddaughter (our new niece) Kai, and Wendy and the kids took her to the airport. We all went to the house on Monday night after I finished work to paint, eat pizza, and hang more siding. We got the finicky right handed piece before the dining room windows and the board before that in before it got too dark to see.
This coming weekend, Mimi and Pop are coming up to help out, and I have next week off from work. Wendy and I are going to work on the house while the kids go visit Mimi and Pop for a couple of days, and then Emmet's third birthday is the weekend after that! SHould be lots of fun and lots of progress. Until then, enjoy the end of the summer. I can't believe we are back here already, it seems like not that long ago we were racing to close the house in and now we are working toward moving in!
posted by SKelly | 7:13 AM
|
1 comments
![]()
![]()